I’ve always been fascinated by cloud computing. Throughout my career, I’ve witnessed firsthand how painful and costly it can be for organizations to upsize their existing infrastructure. Whether it’s increasing server computing power, expanding network drive storage, or setting up and maintaining a remote disaster recovery site for mission-critical applications, the challenges are immense. When I first heard about cloud computing many years ago, I thought it was the perfect solution to these problems. With just a few clicks, anyone can set up and deploy a web application globally in no time, eliminating the guesswork during the procurement process for different development and production environments.
However, I’ve realized that many organizations hesitate to migrate their on-premise servers to the cloud. The move presents a range of challenges that can seem daunting at first, including technical complexities, security concerns, and ongoing management issues.
Having been an IT professional for over 15 years, I’ve managed several IT projects that involved partnering with AWS professionals and consultants to adopt AWS Cloud services. Now, I’m ready to dive deeper into the world of cloud computing. But how do I gain more hands-on experience in building cloud-based solutions? That’s when I discovered the Cloud Resume Challenge by Forrest Brazeal, an excellent hands-on project to get started.
Stage 1: Get certified
The challenge recommends obtaining the AWS Cloud Practitioner certification, but I decided to take it a step further. In just two months, I earned both the AWS Certified Cloud Practitioner and the AWS Certified Solutions Architect – Associate certifications.

Stage 2: Create a HTML page with CSS
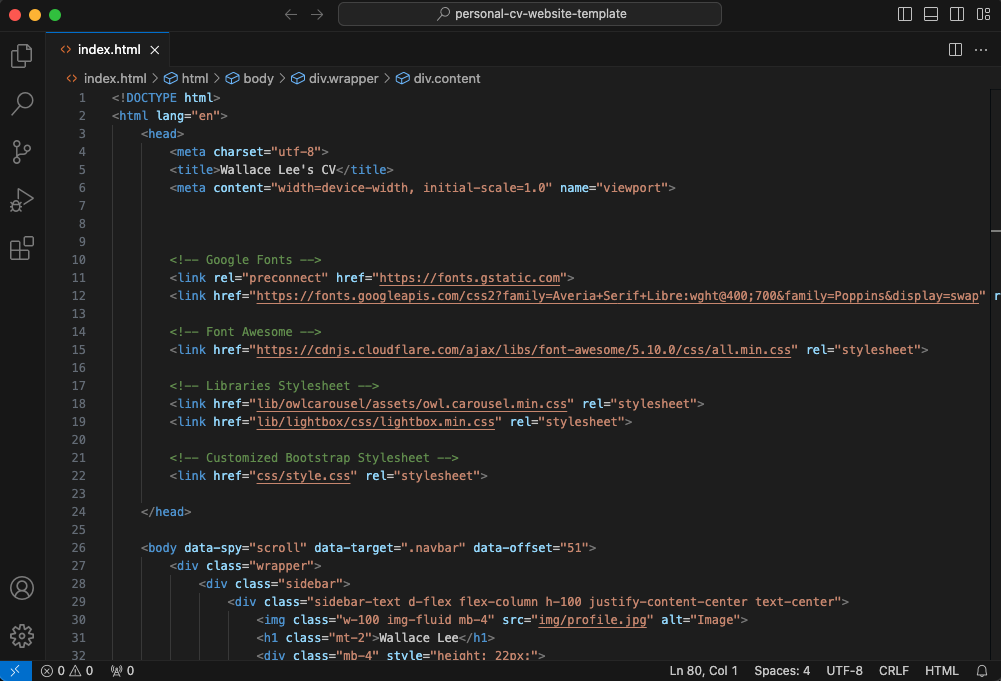
Given my IT background, this part was pretty straightforward. I used a minimalist template from Free CSS, incorporated my resume details into the HTML code, applied CSS styling, and edited them to my liking.
Stage 3: Create a S3 Static Website with CloudFront and register a DNS domain
This is the stage where you start playing with AWS. I opened an AWS account and created an S3 bucket to hold my HTML resume. A bucket is essentially virtually unlimited storage in AWS where you can store any kind of files, including text, images, and videos. To make my resume accessible online, I simply turned on the S3 bucket static website feature.
I registered a new domain name using Route 53, which cost me $14 for a year. Then, I used CloudFront, a content delivery network (CDN), and attached an SSL certificate to securely deliver my website to viewers. This setup ensures the best performance by leveraging AWS’s extensive global network presence.

Stage 4: Create a visitor counter using DynamoDB, API Gateway, Lambda function, Python and Javascript
To build a visitor counter, I needed a database to store the number of visitors. DynamoDB was a perfect fit because it is a fully managed, serverless database service, meaning I have virtually zero administrative overhead. Best of all, its free tier pricing model offers more than enough capacity for this use case.
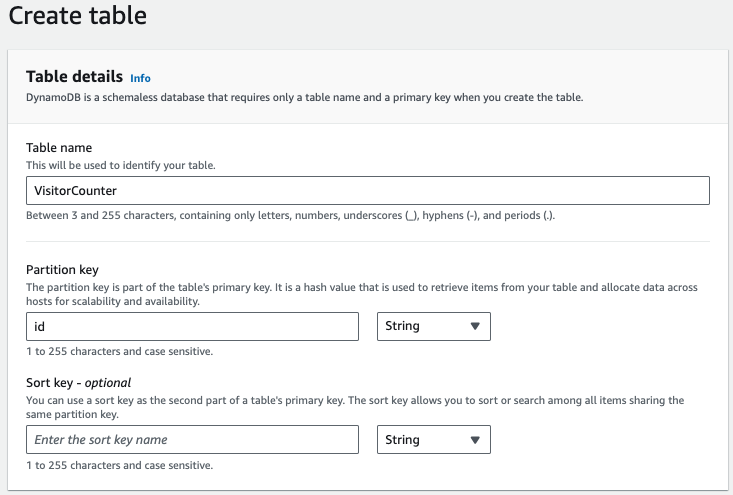
In my DynamoDB, I created a new table called ‘VisitorCounter’ with ‘id’ as the partition key and a single attribute ‘visitor_count’ to hold the total number of visitors.

Next, I wrote a function to update the visitor counter and fetch the latest count. A Lambda function was suitable for this task because it lets me run code without worrying about infrastructure and supports many programming languages. I am familiar with languages like Java, .NET, and Python and I chose Python for its simplicity and ease of use. AWS provides an excellent tutorial for Getting started with Lambda.
After testing to ensure my Lambda function could successfully update the visitor count, the next step was to create an API to allow this function to be executed from my webpage. Using API Gateway, I exposed the function as an endpoint URL. To invoke it from my webpage, I simply made a call to this endpoint using JavaScript.


Stage 5: Automate deployment with with Terraform (Infrastructure as Code)
This stage was the most challenging yet exciting for me because I’ve always been interested in automation. The concept of Infrastructure as Code (IaC) involves codifying all your infrastructure resources and when you need to create your infrastructure, you simply execute these files, automating the deployment process. IaC allows you to quickly redeploy your infrastructure across different cloud providers or make changes to the underlying infrastructure and share them easily.
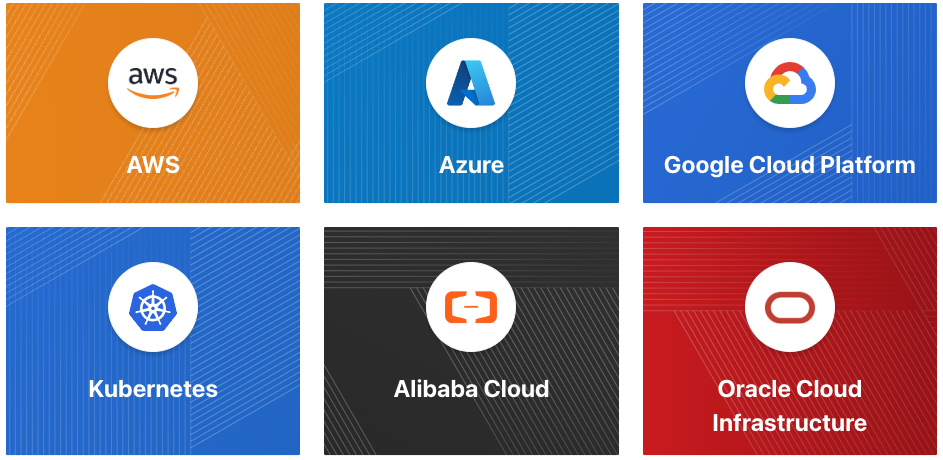
Although AWS provides CloudFormation that leverages existing templates to create AWS resources, I decided to use another widely-used IaC tool called Terraform. Terraform is popular in the industry for its support of multiple cloud providers (AWS, Azure, GCP, etc.). Once you learn how to write Terraform code, the knowledge is transferable between different providers. This flexibility and portability made Terraform the ideal choice for building my backend infrastructure. Following are some of the cloud providers that Terraform supports.
There is a great tutorial on how to build AWS infrastructure using Terraform. After spending several hours on it, I finally created a working set of Terraform code to deploy my backend infrastructure, including a DynamoDB visitor count table, Lambda function, and API Gateway.

Stage 6: Setup Source Control and CI/CD in GutHub
In the context of DevOps, Continuous Integration (CI) involves frequently merging code changes from multiple developers into a central repository. This practice enhances collaboration among team members and improves code quality by detecting issues early. Continuous Deployment (CD) automates the deployment and release of software changes to development and production environments, speeding up time to market.
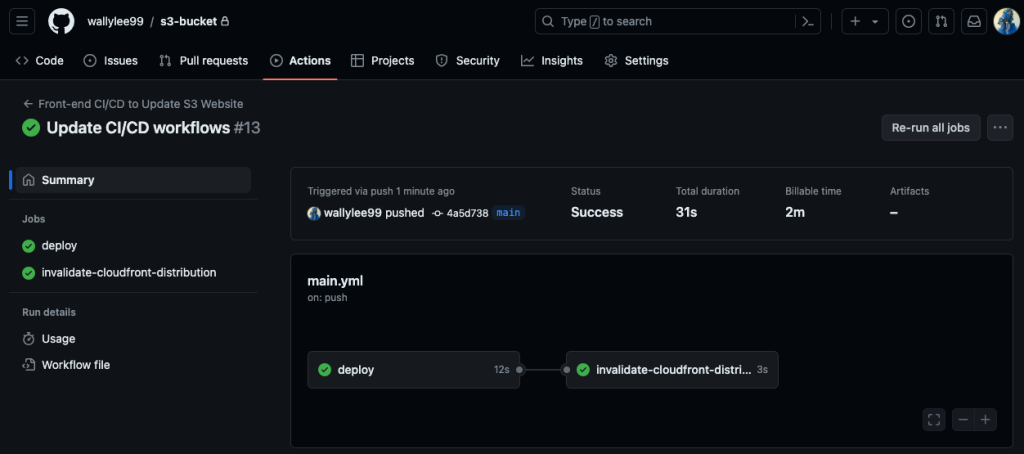
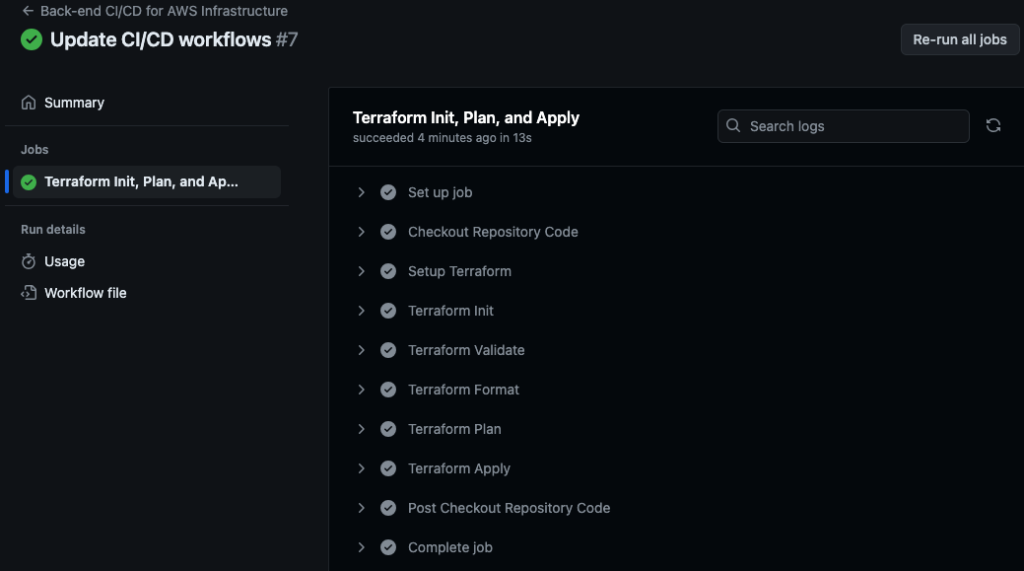
To implement CI/CD, I created a GitHub repository and uploaded my files. Then, I set up two workflows using GitHub Actions. These workflows are automatically triggered by changes in my front-end webpage and back-end Terraform configuration, respectively, and they seamlessly deploy the updates to my AWS cloud environment. This setup ensures that any changes are promptly tested and deployed, maintaining a smooth and efficient development process.
Last Stage: A blog
Instead of simply posting a blog on a generic platform, I embarked on a more dynamic adventure. I created my own WordPress website to post the blog with AWS EC2 and RDS (please check out my other blog post on how I setup my WordPress).
This journey has sparked a new motivation within me. It inspired me to pursue AWS certifications and push myself to implement advanced concepts in real-world scenarios. These hands-on experiences have not only equipped me with a robust understanding of cloud computing but have also encourage me to keep learning. The adventure isn’t over yet; I am determined to improve my skills even more and find new opportunities in the ever-changing world of the cloud.


